Showing posts with label recipe. Show all posts

Monday, September 3, 2012

Deconstructed Sushi

avacado, baby cucumber, cream cheese, cucumber, recipe, recipes, shrimp, sushi,

Sushi. Most people associate that with chunks of raw fish and rice. I do not like raw fish but I like sushi. I like sushi with shrimp, vegetables, crab, and fruit. Yes - fruit! I have tried sushi with salmon several times but just can't say I like it. Now true sushi lovers are going to cringe but most of the sushi that I get comes from KROGER. On special occasions Hubby will take me to the local Japanese restaurant and I get the real/fresh/delicious sushi. My favorite is the mexican roll which has fried shrimp, some vegetables, jalapenos, and a yummy sauce. I am not someone who likes spicy things but for some reason this one appeals to my taste buds. I have been thinking about making sushi at home for a long time but I don't have patience and skills to do it. Hubby was out of town this week which left me several nights to eat yummy healthy foods he wouldn't touch. I was craving sushi and decided to make my own...my way. I went to the grocery store and got a bunch of food (some of it not healthy but oh so good).

Here is what I picked up:
Baby Cucumbers
Avocados
Shrimp
Cream Cheese

I already had brown rice, soy sauce, and vinegar at home. I forgot to pick up some seaweed sheets to add in but it was great without it. I am normally not a cucumber fan but the baby cucumber always taste better to me and when mixed in with all the ingredients were quite good. I cooked 2 cups of brown rice as this was also going to be my work dinners for several nights. While the rice was cooking I peeled and chopped up the cucumber. The first time I only used half a cucumber but the other nights I used a whole one. I sliced half an avocado up and took the tails off 8 cocktail shrimp. Once the rice was cooked I added in a little bit of cream cheese and soy sauce and stirred it up until it was all melted and mixed. I dumped my veggies and shrimp on top, stirred a little, and dug in! It was amazing and I enjoyed every bit of the 4 meals I ate it. It is a very light meal but filling. I was stuffed after each meal and was satisfied. I should have made this months ago when I thought about it but I won't be waiting months to make it again...maybe a week!


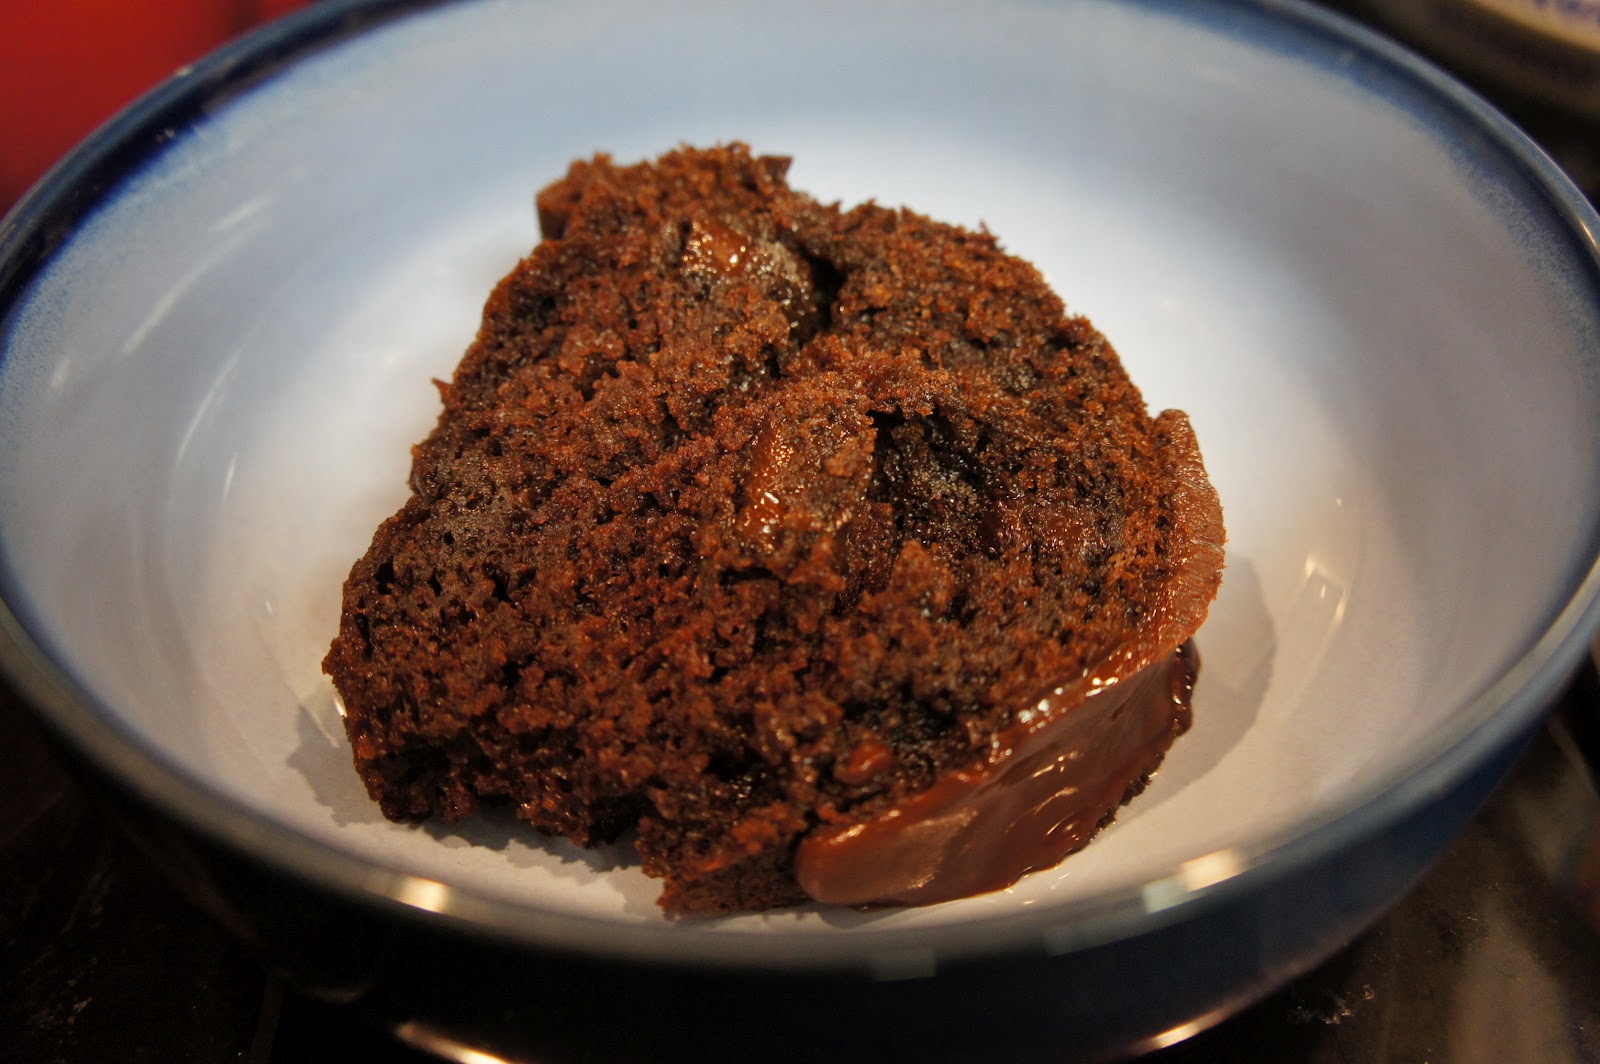
All mixed up and ready to eat!

Wednesday, July 18, 2012

Pot Roast


Ken jokes that every time we have friends or family over I use them as guinea pigs! It always gives me a reason to cook and try new things. We love the crock pot for Saturday nights so food is ready for us when we get home from church. This is something I got off Pinterest. I would usually post the original link but this one was just a link to a picture and a recipe in the comments area. The roast turned out fantastic and this is going in the KEEP bin!

One pack each: Ranch Dressing Pack, Italian Dressing Pack, Brown Gravy Pack

Mix with 1/2 cup water and then pour over the roast. I didn't turn it or touch it in any way while it was cooking. Right before we left for church I added a couple cans of green beans, fresh carrots, and potatoes. Everything was perfect when we got home! We just started to use the temp probe feature on our crock pot and it works so much better than just the standard high/low setting. Try it! It is super yummy! Enjoy.

Monday, July 2, 2012

Oriental Salad with Ramen Noodles

I love this "salad" and it is a very popular potluck item. I made this several weeks ago for book club and have been craving it every since. Yes I love to read and love my book clubbers! I work nights and don't always feel great and finding foods that settle well with the stomach are very limited. I was working Wednesday night and thought about making this and my mouth started watering. I sent hubby to the grocery store while I slept and when I got up I made this salad for dinner. It is super easy and delicious and it lasted 4 days of eating it two times a day. I love to cook and very rarely follow a recipe. I love to make it my own and add my own preferences. I am posting the original recipe and will tell you how I changed it.

Oriental Salad with Ramen Noodles
1 bag of cole slaw
1 bag of broccoli slaw (I don't like cole slaw so I do two bags of broccoli slaw)
1 pkg. Oriental Ramen noodles (I like 2 packs)
1 small bag of slivered almonds
cashews or peanuts (optional) (NOPE)


Dressing
1/2 cup canola oil (I use lighter flavor olive oil)
1/2 cup sugar *see note at bottom
1/4 cup cider vinegar
2 TBS. soy sauce
Season packet from the Ramen noodles
Preheat oven to 300-degrees. Line a cookie sheet with foil to save on clean up and spread out the almonds and crushed uncooked Ramen noodles. Bake the noodles and almonds for 12 minutes until they are a golden color. Let them cool.

Place both bags of broccoli slaw into a bowl. I go ahead and add the toasted Ramen and almonds as I don't really care if the noodles get soft. If you are taking this to a potluck don't add them until right before serving. Now to mix up the yummy dressing! 

I put everything into a Ziplock twist top container so it is easy to shake. Add the oil, sugar, cider vinegar, soy sauce, and the season packs. Put lid on tight and shake really well so everything mixes evenly. Pour and toss. I would do the dressing a couple hours before so the dressing can soften the broccoli some. I make a double batch of the dressing. The noodles and broccoli will absorb a lot and I like my salad dripping! I added boiled and chopped chicken into the salad this week so it was a complete meal for me.  

**I try to watch the sugar intake (even though you can't tell by my chocolate cake recipe) so when I made it this week I tried making it with Splenda. Spenda isn't my favorite sweetener but it is the best for cooking/baking. Sweet'N Low is my favorite for drinks. Anyways, I made it with Splenda (about 4 big spoonfuls) and it was okay but was better after adding 2 spoonfuls of sugar. So all in all I cut the sugar down from 1 cup (for the double batch) to 2 spoonfuls! I am happy with that.

*Also..sorry for the dark pictures. I am still working on getting the lighting and camera setting just right! Still needs some work....

Wednesday, June 27, 2012

BLT Pasta Salad recipe


BLT pasta salad, noodles, avacado, tomato, bacon, mayo, vinegar, sugar, mustard, cider vinegar, apple cider vinegar, sour cream, salt, pepper, shredded lettuce, spiral noodles, elbow noodles


Time for a healthy recipe! I got this a long time ago and I don't even remember where I got it. It is another good summer recipe that is best with fresh tomatoes, crispy bacon, and perfectly ripe avocados. You can make it with your favorite pasta. I like it with the spiral noodles but have made it elbow noodles too. This is the original recipe and while I haven't made it in a long time I know that I tweaked it a little bit to fit my liking. So taste the dressing before you mix it with your salad and make it your own. This definitely is best fresh and doesn't get better with time. Usually after 2-3 days the lettuce and avocados are turning brown, the noodles get soggy, and the dressing becomes pretty bitter. So make it, share it, and eat it all day!

BLT Pasta Salad
1 small box spiral noodles or the noodles of your liking
4 cups cut-up tomatoes
4 strips bacon, cooked and crumbled
3 cups thin sliced lettuce (the easy way is to buy the shredded lettuce in the salad section)
1/2-1 sliced avocado (I love lots of avocado in my salad)
1 teaspoon sugar
2 teaspoons cider vinegar
1/2 cup fat free Mayo
1/3 cup light sour cream
1 tablespoon Dijon mustard
Salt and pepper to taste

Cook your noodles and then rinse them in cold water. Next you mix the noodles with bacon, lettuce, and tomatoes in a big bowl with room to toss/stir the salad. In another bowl mix the sugar, vinegar, mayo, sour cream, and mustard. This is where you need to make sure that it pleases your taste buds. I usually leave out the mustard and add a little more vinegar and sugar. I like my dressing strong! Poor hubby hates the smell of vinegar and always complains but too bad because this is good! Pour the dressing over the noodle salad, stir really well and put into fridge. I can't wait for it to get fridge cold and will eat a big bowl first. Then later in the day I will eat some more. And then eat some for breakfast, lunch, and dinner the next day. Yes I have a problem...I can eat something every day for a week and then be done with it for several months!

Monday, June 25, 2012

Best Ever Chocolate Cake

We had college friends over this weekend that we haven't seen in over 4 years and we had a lot of fun. I wanted to make something yummy that we could stay up late and eat over while remembering all the fun we had in college. This cake is my favorite and pretty easy to eat cook. It is very moist and very rich. A little piece goes a long way to soothe my chocolate cravings. It is the closest thing to Chili's Molten Chocolate Cake that I have made that isn't a lava cake. Trust me...it is good and I don't think I have one person not like it! It has been years since I have made this and I was so excited that I forgot to take pictures until I was all ready to put it into the oven!


I also forgot to take a picture of it as a finished product before we dug into it! This is what was left after 2 days of eating.


It has been in the fridge for 2 days so the chocolate icing is a little discolored


Best chocolate cake EVER
 
Cake:
1(18 1/4 ounce) package devil's food cake mix
1 (3.9 ounce) package instant chocolate pudding mix
1 cup sour cream
1 cup milk
1/2 cup vegetable oil
1/2 cup water
4 eggs
2 cups chocolate chips

Icing:
6 tablespoons butter
1 cup chocolate chips

Preheat oven to 350 degrees. Grease and flour a 10-inch bunt pan (I use Pam baking Spray) In a large bowl combine cake mix, pudding mix, sour cream, milk, oil, water, and eggs. Beat until blended. Mix in the 2 cups chocolate chips. Pour batter into prepared pan. Bake for 40 to 50 minutes or until a toothpick inserted into the center of the cake comes out clean. Cool 15 minutes in the pan then turn out onto a wire rack (or serving plate). Cool completely.

To make the glaze: Melt butter in a saucepan over medium heat. Add 1 cup chocolate chips and stir continuously until smooth. Be careful to keep stirring and not to have the heat on too high. We wouldn't want to burn the delicious chocolate! Drizzle over the cake.

I always keep the cake in the fridge just because of all the eggs and dairy products that go into the cake. To make it taste more like the molten chocolate cake this is what I do: Heat in microwave for 25-30 seconds and add your vanilla ice cream on top! I love when the ice cream melts down in the cake and the chocolate icing is slightly melted. Yum.....I think I hear some cake calling me from the fridge.


Monday, June 18, 2012

Couscous Salad

Need a quick and easy lunch? Couscous is our favorite side dish that we usually eat with some variety of chicken. It is super easy to make: Boil water, put couscous in pan, stir, turn off heat, let sit for 5-8 minutes, and fluff with fork. That's it! You can find it in the rice section even though it is a pasta made from wheat. We buy a big container of RiceSelect Original Couscous and spice it up the way we (I) like it--usually boil it with a chicken bullion cube and once done add parmesan cheese, ranch powder, and garlic salt. Lots of parmesan....we go through it real fast. This is a light but filling meal that is great for summer time when you can get fresh ingredients to go in it. I need to go raid my parents garden soon for some fresh tomatoes! Here is how this recipe goes:

The amount of broth/water depends on how much couscous you want to make. It is a 1:1 ratio. Usually one cup of couscous is enough for hubby and me with a little left over. We will go with 2 cups for the recipe.

Place 2 cups chicken broth/ or water with a bullion cube on the stove and bring to a boil.

Once water is boiling add in your 2 cups of couscous, stir, cover, turn off heat, and let it sit for 5 minutes.

Once the 5 minutes is over get a fork and fluff up your couscous. It looks very dense but once you start fluffing you will be amazed how light and how much it bulk up. I also always add a little butter when fluffing up the couscous to keep it from getting too dry.


Cut up and add: 12 grape tomatoes, 2 green onion sliced, 1/2 cup feta cheese, 1/4 cup red onion minced, and 1/3 cup shredded parmesan cheese. Toss with a fork and Enjoy--see super easy

Now the fun comes in when you start adding and taking away ingredients to make it  the perfect meal for you. I like to add shrimp in my salad for a little protein. I have done many different varieties and loved most of them. There were a few that were placed on the do not repeat list!

Let me know if you try this and what your perfect recipe combo has in it.

--R

Wednesday, June 13, 2012

Vinegar Rinse


Back to the fresh strawberries! I heard from friends about rinsing them in vinegar to make them last a little longer. I decided to try it and see if it worked. I got a half flat of strawberries from the farmers market and they were beautiful. I was working and couldn't get to them for several days and by the second day they were starting to get soft. I decided to freeze most of them but wanted some to take to work the last day.

I got a big bowl and put the strawberries that I wanted to keep fresh in it. I got a measuring cup and did 1/4 cup vinegar and 3/4 cup water. I dumped that in the bowls with the strawberries and gently hand tossed the berries in the water. I let them sit while I cleaned and cut up the berries I wanted to freeze. After I finished with those berries I returned to the berries sitting in the vinegar water. I drained the water and rinsed them with running water. I ate the few that were already getting mushy with no bitter vinegar taste and placed them into the fridge.

I was very surprised that 3 and 4 days later I still had beautiful strawberries that hadn't molded or turned to mush! I will be doing this every time I get some fresh fruit. I am pretty sure this will work on most berries but don't know about other fruits like peaches or plums. I can't wait until peaches are in season and I can find out!

-R

Friday, June 1, 2012

Strawberry Pretzel Salad


 Nothing is better than fresh strawberries straight from the fields. The only problem is that fresh strawberries can turn bad very fast so you have to eat them fast or freeze them to use later. This is a great recipe to use up your strawberries and very tasty. The combination of the salty pretzels, smooth cream cheese layer, and the sweet strawberries are very close to perfection. I have found that it is best eaten after a day of sitting but still good anytime. After a couple days the pretzel crust gets a little soggy but still is very good. This has become a stable at most of our family events and hardly ever is there any left. That is the only negative--no leftovers. So if you are planning to take it to an event and want to have some left for desserts during your week--MAKE 2!


What you need:
CRUST:
2 cups crushed pretzels (not too fine) (Rold Gold is our favorite)
3/4 cup melted butter
3 tablespoons sugar

CREAM CHEESE LAYER:
8oz. cream cheese block
1 cup sugar
2 cups cool whip

JELL-O LAYER:
1 large package strawberry or other red jello
2 cups boiling water
2- 10 oz. packages of frozen strawberries or 2 cups sliced fresh strawberries (or your self frozen berries)

Crush your pretzel into little pieces--not too fine, not too large. I use a gallon zip-lock bag and a rolling pin to crush my pretzels. Mix together the crushed pretzels, melted butter, and sugar. Press the pretzel mix into a 9x13 inch dish and bake at 400 degrees for 8 minutes-don't over bake. Let it cool. With a mixer beat cream cheese and sugar until smooth. Fold the cool whip into it. Spread the mix over the cooled pretzel crust. Now mix the Jell-O and boiling water and stir until Jell-O is completely dissolved. Add your berries. If using frozen berries immediately pour mixture on top of cream cheese layer. If using fresh strawberries then place Jell-O/Strawberry mix in the refrigerator for 30 minutes until slightly thickened and then pour on top. Refrigerate and let set at least 4 hours before serving.


**I am not a patient person so the first time I made this I didn't wait long enough for the Jell-O to thicken. The result was still good but the Jell-O seeped through all the layers and made the pretzel crust soggy a lot faster. From experience waiting on this one is the best so your layers stay defined and delicious!


Monday, May 21, 2012

Oreo Layer Dessert


I have made this dessert twice now and both times it did not disappoint. The recipe came from blogger House 344. The layers of Oreos, cream cheese, pudding, and Cool Whip are delicious and so easy to make. I think this may be one of my new go-to recipes for potlucks and parties. The first time I made this recipe I used all brand name products and the second time I used the cheaper Kroger brands. While the second time was good, it was a little off. It just had a different taste and it wasn't as delicious as the first time I made it. I didn't know if it was because of first time love, second time disappointment or if there really was something that just wasn't as good as the name brand products. I did some taste investigating and here is what I decided: The Kroger Kid-O's were good. There wasn't much difference between them and Oreos. The same goes with the Cool Whip and Kroger Whipped Topping. It was the chocolate pudding! If you make this don't skimp just to save a couple cents. The Kroger chocolate pudding wasn't as good as Jell-O. I have learned over the years that you can't skimp on some products because the name brand is just better! Here is how the to make this deliciousness:

Gather your groceries: 
1 pack of Oreos
1/2 cup butter
1 large box of instant chocolate pudding
2- 8 ounce tubs of cool whip
8 ounce block of softened cream cheese
1 cup powdered sugar

Crush the WHOLE package of cookies. I do mine in a zip-lock bag with a rolling pin. Save about a 1/2 cup to sprinkle on top of dessert when it's done. Pour the remaining crumbs in a 13x9 pan. Melt the butter and pour into the crumb mix. Stir it up and press crumbs in bottom of pan to make a crust. Make the chocolate pudding according to package directions and let it set in the fridge. In a mixing bowl blend the softened cream cheese until smooth and then slowly add powdered sugar. After the cream cheese and powdered sugar is completely mixed, fold in 1 of the 8 ounce tub of cool whip.  Top the Oreo crust layer with cream cheese mix. Next add the pudding layer then topped with your last 8 ounce tub of cool whip. Last you sprinkle the remaining Oreos on top. Now cover, refrigerate, and try not to eat it all!


**The second time I made this I forgot to save some of the Oreos to sprinkle on top but a little chocolate syrup drizzled on top was almost better!